Whether you're replacing your internal doors for a fresh sense of style in your space or replacing broken doors it’s important to understand the fitting process.
Understanding what you’ll need, how long it will take and how difficult it is to install doors can help you decide between DIY or hiring a carpenter to help.
In this guide, we’ll detail exactly how to hang a door, complete with tips, tricks and recommendations to make it easier.
What tools are needed to hang a door?
If you’re planning on relying on DIY to help you install your new doors, you’ll first need the right tools to get the job done. The following tools are a must-have to ensure that your door is securely fitted. When working with timber it’s also worth noting that your tools must be adequately sharpened too in some instances investing in new tools can help prolong the life of your doors and save you time and money in the long run.
- Tape measure
- Sharp pencil
- Wood plane (hand or power)
- Hardpoint hand saw
- 25 mm (1") Chisel
- Wooden wedges
- Internal door
- Door hinges
- Screws
- Hammer
- Drill
- HSS drill bit
- Workbench
- Wooden wedges
How long does it take to hang a door?
It should take roughly 2 - 2.5 hours to successfully install or hang a door.
However, if you’re planning on hanging your own door it’s helpful to remember that a certain level of DIY know-how will go a long way and this estimate may increase. Installing a door can be fairly straightforward when you know what you’re doing but even then you might encounter some troublesome or more difficult steps in the process.
If you are new to DIY or haven’t done many large-scale installations you might want to consider hiring a carpenter to install your door. On average carpenters will charge around £70-£100 to install a door, but this can often save time in the long run if something goes wrong.
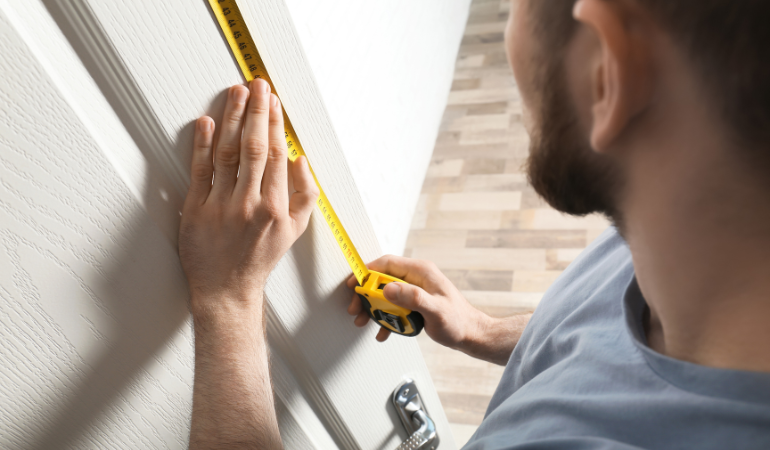
How to measure a door
Whether replacing a door or installing a new door for the first time you’ll need to measure the door to ensure it’s the right size and fit.
When measuring a door, remember to take your measurements in inches/feet or millimetres as these are the standard measurements used by door manufacturers so it will make your job easier when buying a door.
The method for measuring a door differs depending on whether you’re measuring with the current door in the frame or measuring the frame itself. If you have a door in the frame, the general rule of thumb for standard doors is ensuring a consistent clearance of 3-4mm at the sides and top and 6mm at the bottom. However, tolerances can differ and this may vary depending on the type of door. For example, fire doors may differ from standard timber doors so, to avoid disappointment always check with your supplier or carefully read any information supplied.
Open the door when measuring and measure the width, height and depth of the door both the lock side and hinge side.
If you are measuring the door frame without a door measure the length and width (subtracting the clearance from your measurements) and don’t forget the depth too!
Need help? Visit our illustrated guide to measuring internal doors for step-by-step assistance.
How to remove a door
Removing the door is one of the easiest steps in door installation or replacement.
- First of all, start with the hinges. Close the door until this latches and remove the hinges. If your hinges have hinge pins these can be dislodged with the screwdriver and a hammer, tapping upwards until the pin is released. If not, simply unscrew the hinge plate from the door.
- Repeat this step for all of the hinges and remove the door from the door frame, taking care to carry the door properly to avoid injury.
- Remove the hinges from the door using an appropriate screwdriver, loosening the screws until you can lift the plate away from the door.
- Repeat this step on the remaining hinges on the door frame itself.

How to fit an internal door
The easiest way to hang a door is by hiring a carpenter to install it, however, if you’re up to the challenge we recommend having a spare pair of hands, especially when fitting heavier wooden doors.
Wooden doors are often heat reactive so be sure to let your new door acclimatise ’ to the property before installing, ensuring you’ve accounted for any shrinking or expanding and helping achieve the perfect fit without any nasty surprises.
Now, onto the door installation itself:
- Hold the door in the correct hanging position and secure it into place with door wedges or stops. To make sure you leave adequate clearance for any carpet or flooring and achieve a sleek open and close leave a clearance of at least 3mm with the door in the centre of the frame.

- Once the door is in the frame at the correct position, mark the position of the current hinges against the side of the door (hinge side) with a pencil.
- Remove the door from the frame and place the hinges in the positions you’ve marked. With a pencil, draw around the part of the hinge plate that will attach to the door. Repeat this for all the hinges you’ve identified in step 2. Don’t forget to also note the depth of the hinge plate too. In order to measure this simply place the hinge plate on the face of the door, on top of the marks you've just made, making sure it sits flush with the outer side of the door. This should show you how deep you’ll need to cut in order to support this hinge. Mark this measurement too.
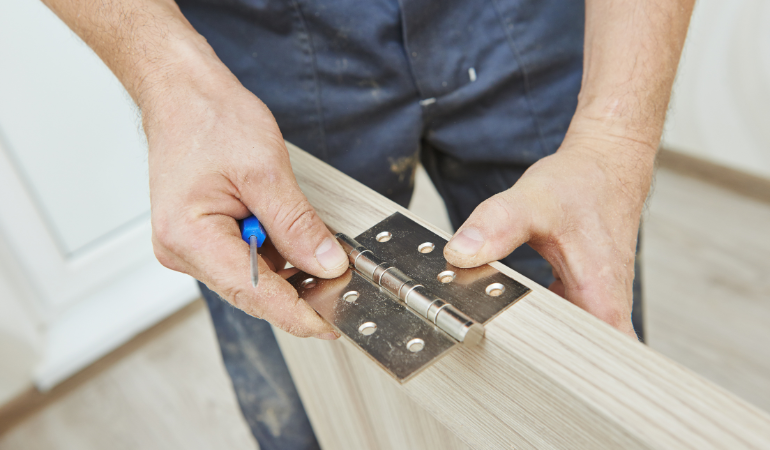
- Using a sharp chisel and a hammer (to tap the chisel into the wood) create indents within the pencil outlines on the side of the door (hinge side).
- Within these indented lines use your chisel to remove the excess wood where your hinge will sit. Hold the chisel at a 90° angle horizontally and make small incisions of around 5mm each, using your depth measurement as a guide each time. Once you’ve made these incisions hold your chisel vertically and shave off the wooden incisions you just made removing all the wood in a controlled manner.
- Repeat step 5 for each hinge needed.
- Hold the hinge into place as a ‘template’ and drill the necessary holes into the door, taking care not to split the wood.
- Screw the hinge plate into place using the appropriate screws, tightening until secure.
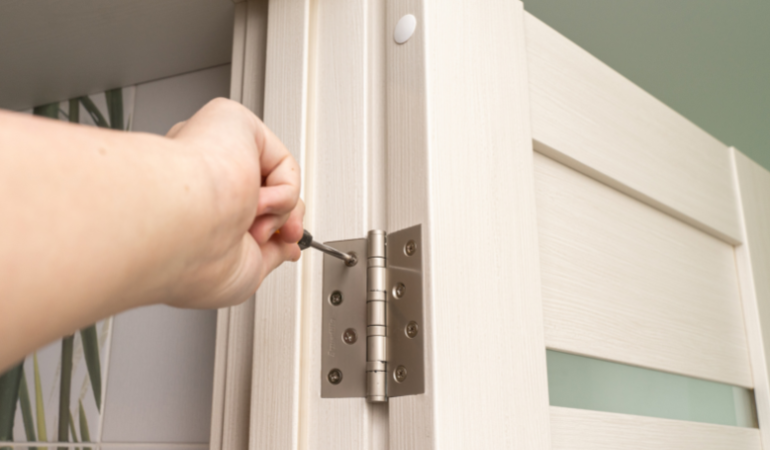
- Hold the door into place in the door frame, replicating the angle this will be at when opened to 90°
- On the doorframe, secure the bottom hole in the top hinge plate into place with a screw, repeating for the bottom hinge plate. Then place a second screw in the top hole of the top plate. This will hold the majority of the door’s weight making it easier for you to test the door’s position and fit the rest of the screw in place.
- Finish securing the remaining hinges into place by adding screws to any remaining holes and tightening them with a screwdriver.
How to fit non-standard internal doors
When it comes to fitting standard internal doors, this is straightforward when you know what you’re doing and have the right tools. However, non-standard or other more complex internal doors may follow a different set of rules such as bi-fold doors, sliding doors or french doors.
We’d always recommend consulting a carpenter or technician if you’re interested in these doors for your property as they have more complex fitting needs and may require special tools and training.
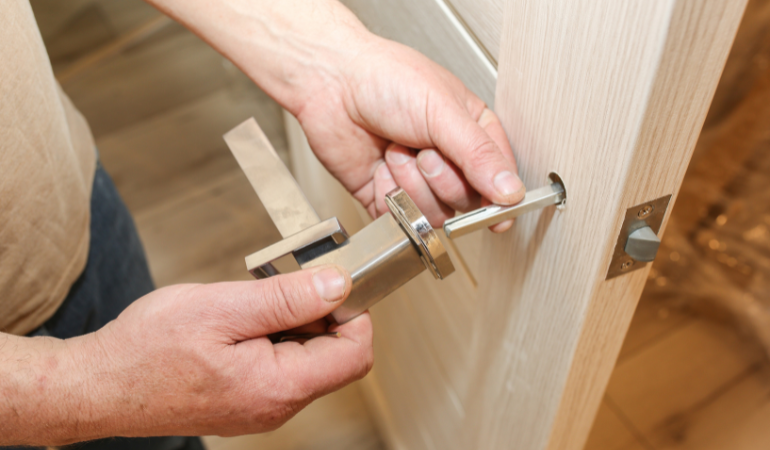
How to fit door handles
Fitting door handles is the final step in door installation, however, it’s not uncommon to install new handles onto an old door so it’s a useful process to know.
- Using a tape measure, measure upwards 100cm from the floor and mark the inside of the door edge.
- Using the marking out template (which comes as standard with all door handles) assess how deep your door handle will need to go and where the front of the handle will sit on the door (both sides). Mark these with a pencil.
- Using the marking out template as a guide again, mark the inside of the door where you will require screws.
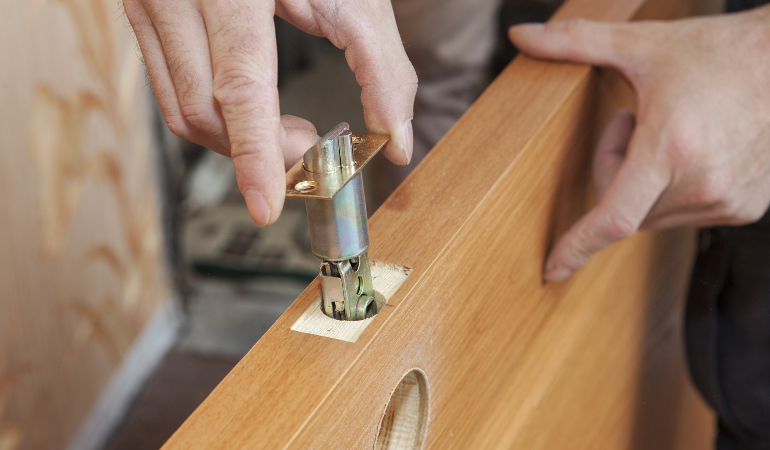
- When satisfied with the placement, use an electric (cordless or corded) drill to make holes in the places you’ve marked. You will need to use a spade bit in order to drill a hole for the spindle (through the front of the door) and the barrel (through the centre of the door) these operate the handle and allows for the latch to retract.
- Using a pencil, trace the outline of the face plate onto the outside of the door's edge (handle side).
- With the latch inside the door, assess the depth required to accommodate the depth of the faceplate and mark around the area with a pencil.
- Using a chisel at a 90 angle, make small, consistent incisions moving horizontally across the area outlined. Then use the same chisel to chip the wood away to the required depth.
- Once satisfied, screw the faceplate onto the side of the door.
- Once the latch and faceplate are secured close the door just enough for the latch to touch the door frame (unlatched) and measure the striker plate against the side of the door frame. Mark the top and bottom of the striker plate (with the latch in the centre) and where the latch sits on the door frame.
- Using the centre marking, drill a hole using a spade bit (this will be where the latch sits).
- Measure around the striker plate lining the top and bottom up with the marks made in step 9. Using a chisel carve out the excess wood (as with steps 5 & 7).
- Drill holes where needed and screw them into place.
- Place the bolt of the handle through the door from front to back.
- Place the base plate and handle onto the front/back of the door one side at a time and screw them into place, ensuring that the handle will turn downwards on both sides.
- Test the handle, pulling this down and back up and ensuring that the latch moves accordingly.
Next Steps
If you’re replacing a door, it might be worth checking if a repair is possible, rather than a replacement. Restoring or repairing can help extend the lifespan of your doors without having to commit to the cost of a replacement.
If you’ve got any questions about our range of internal doors, external doors, or any of our other products, please get in touch. Whether you need product recommendations, need to discuss made-to-measure doors or just need some advice, our team are here to help.
If at all unsure, before commencing your installation give our team a call for advice. While we can advise you on the best methods, tools or accessories for a smooth installation it’s your responsibility to ensure your door is fitted properly. So, enlisting the help of a professional carpenter can help avoid any damage to the door or injuries due to improper installation.